
Your cart is currently empty.
Continue shoppingHomemade Sauerkraut 💚
Chef
Varies based on the size of your cabbage
German
Healthy
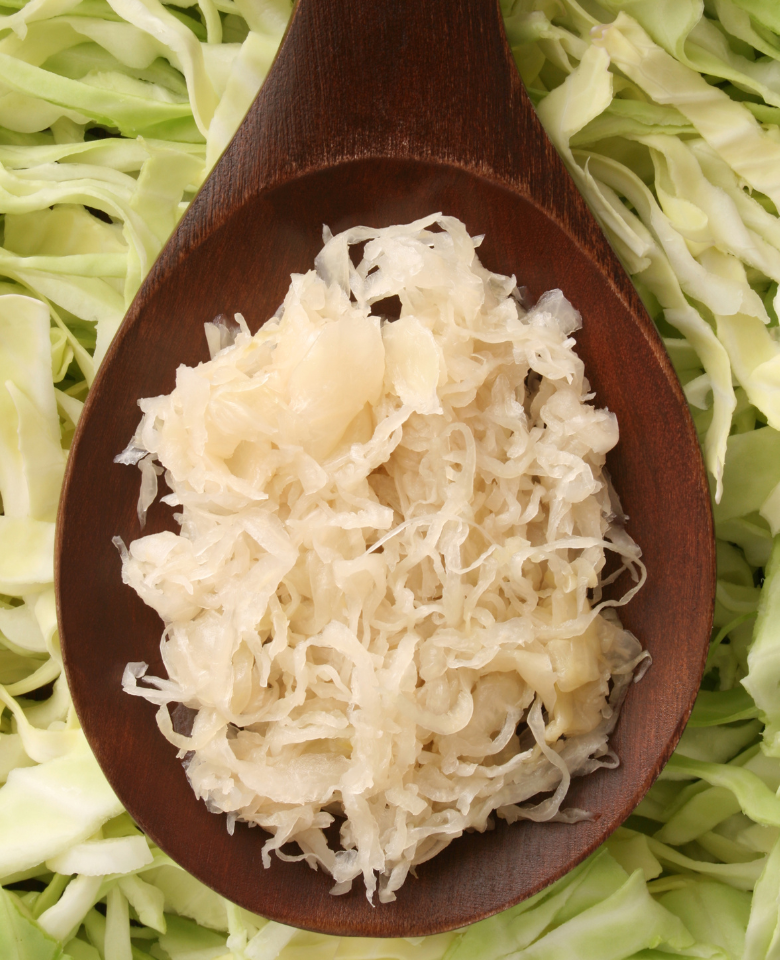
Homemade sauerkraut is a wonderful addition to various dishes, and the fermentation process adds probiotics for a healthy gut. Making sauerkraut at home is quite simple and requires minimal ingredients.
Ingredients
- 1 medium-sized cabbage (green or red)
- 1 tablespoon salt (non-iodized, preferably sea salt or kosher salt)
- Optional: 1-2 teaspoons of chili flakes, caraway seeds, peppercorns, or mustard seeds (adjust to taste)
Directions
Prepare the Cabbage:
- Remove the outer leaves of the cabbage and set them aside.
- Quarter the cabbage and remove the core.
- Shred the cabbage finely using a knife or a food processor.
Massage with Salt:
- In a large bowl, combine the shredded cabbage and salt.
- Massage the cabbage and salt together for about 5-10 minutes. The cabbage will start to release liquid.
Pack into a Jar:
Pack the shredded cabbage tightly into a clean glass jar. Press it down as you go to eliminate air pockets.
Cover with Reserved Leaves:
Take the outer leaves you set aside earlier and place them on top of the shredded cabbage. This helps keep the cabbage submerged in its own liquid.
Add a Weight:
Place a weight on top of the cabbage to keep it submerged. This could be a small jar filled with water or a purpose-made fermentation weight.
Cover the Jar
Cover the jar with a clean cloth or paper towel, secured with a rubber band or string. This allows air to flow while keeping out contaminants.
Fermentation
- Leave the jar at room temperature, away from direct sunlight.
- Check the sauerkraut every day or two. Press down on the weight to ensure the cabbage remains submerged.
Taste and Store:
- After about 1-2 weeks, taste the sauerkraut. When it reaches the desired level of tanginess, it's ready.
- Remove the outer leaves, put a lid on the jar, and store it in the refrigerator.
Enjoy.
